Are you wondering how long it takes for chicken eggs to hatch naturally? Or what the natural incubation period of chicken eggs is? Look no further!
In this article, we will explore the fascinating world of natural chicken egg incubation. We’ll discover the duration required for chicken eggs to hatch without the use of an incubator, and delve into the process of choosing the right hen for this method. Continue reading to gain valuable insights into natural incubation techniques and considerations.
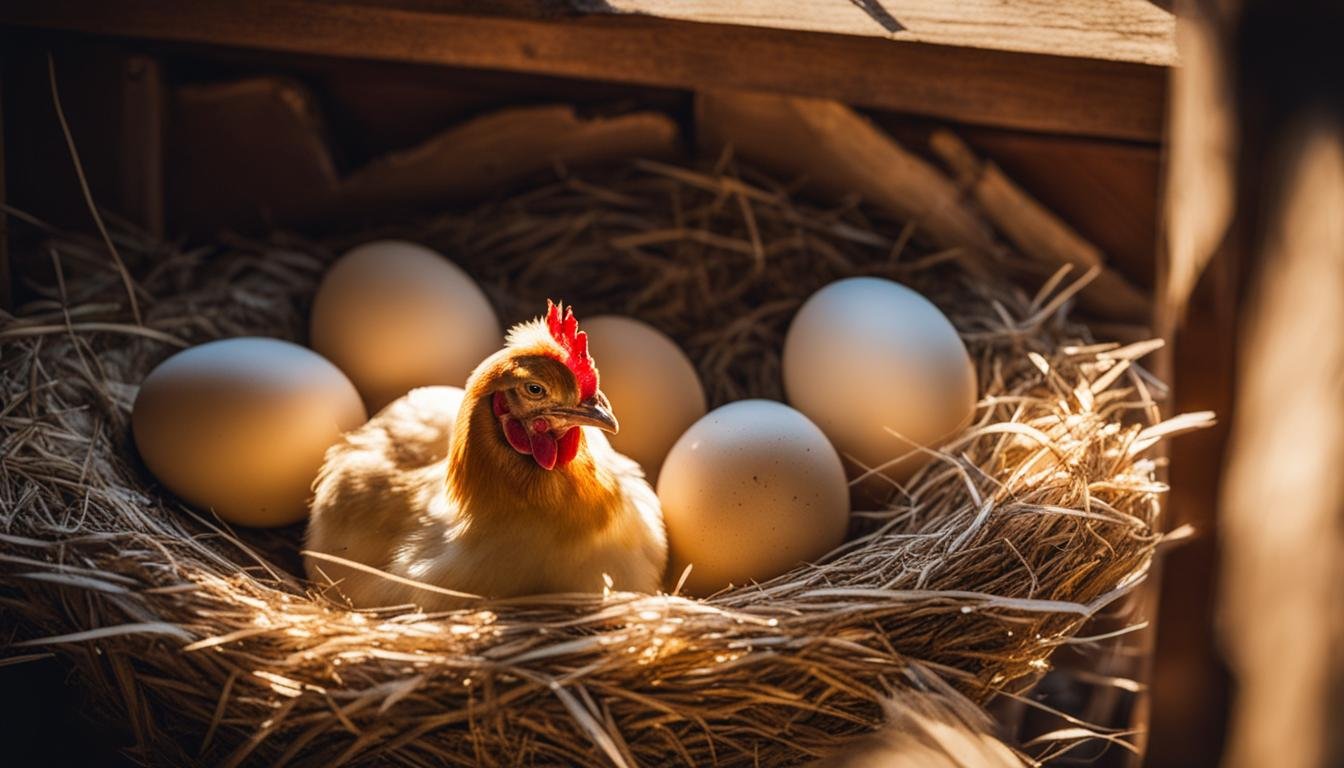
Using a broody hen to sit on the eggs is a common method for natural incubation. These broody hens display specific signs, such as stopping laying eggs, sitting on their eggs, and making clucking sounds. They provide the necessary heat and moisture required for the eggs to develop and hatch.
The incubation duration for chicken eggs is typically around 20 to 21 days, although it can vary depending on the breed and other factors. During this time, the broody hen will ensure the eggs are kept at the correct humidity and temperature, turning them regularly for proper development. Successful natural incubation can result in an impressive hatchability rate of around 80%.
So, if you’re interested in learning more about how to hatch chicken eggs without an incubator and the benefits of natural incubation, keep reading. We’ll also touch upon artificial incubation techniques as an alternative option.
Stay tuned for the next section, where we’ll discuss how to choose the right hen for natural incubation!
Choosing the Right Hen for Natural Incubation
When it comes to natural incubation, selecting the right hen is crucial for a successful hatch. A broody hen is a key player in this process, as she will provide the necessary warmth, care, and protection to the developing eggs. To ensure a high hatchability rate, consider the following factors when choosing a broody hen for natural incubation:
- Look for Signs of Broodiness: A broody hen will exhibit clear signs of broodiness, such as ceasing to lay eggs, sitting on her nest, fluffing up her feathers, spreading her wings, and emitting clucking sounds. These behaviors indicate that she is ready and willing to go through the incubation process.
- Select a Hen with a Good Brooding and Mothering Record: Opt for a hen with a proven track record of successful brooding and mothering. This can be determined by observing her past experiences with raising chicks or consulting with experienced poultry keepers.
- Choose a Large Hen: Larger hens are generally capable of covering more eggs, ensuring better heat distribution and improved hatchability. They also have more body mass, which helps maintain a stable temperature for the eggs.
- Ensure the Hen is Healthy and Vaccinated: A healthy hen is more likely to provide optimal care for the eggs. Check for any signs of illness or parasites, and ensure that the hen has been vaccinated to prevent the transmission of diseases to the developing embryos.
- Consider Nest Size: The size of the hen’s nest can impact hatchability. It’s best to avoid overcrowding the nest with too many eggs, as this can lead to reduced hatchability. A general guideline is to limit the number of eggs to ten or less per nest.
- Provide Easy Access to Feed and Water: Keeping the broody hen in good condition is essential for successful incubation. Ensure that feed and water are easily accessible in close proximity to the hen’s nesting area. This will help her maintain her health and reduce the risk of embryo damage.
- Maintain the Correct Humidity: Humidity plays a vital role in egg development. The broody hen should have easy access to water to maintain an optimal humidity level between 60 and 80 percent. This ensures the eggs do not become too dry or too wet during incubation.
By carefully selecting a broody hen that demonstrates the appropriate signs of broodiness and possesses the necessary qualities for successful incubation, you can increase the likelihood of a favorable hatching outcome. Now let’s take a look at the process of natural incubation in the next section.
| Factors to Consider when Choosing a Broody Hen for Natural Incubation |
|---|
| Signs of Broodiness |
| Brooding and Mothering Record |
| Size of the Hen |
| Health and Vaccinations |
| Nest Size |
| Access to Feed and Water |
| Correct Humidity |
The Process of Natural Incubation
During natural incubation, the broody hen plays a vital role in providing the optimal conditions for the eggs to develop and hatch. Let’s take a closer look at the essential steps involved in the natural incubation process:
Egg Temperature and Humidity
One of the key factors for successful natural incubation is maintaining the right temperature and humidity levels. The eggs require a controlled heat input to sustain an optimum temperature of 38°C. As the embryos grow, they generate more heat, and the hen may adjust her position to either warm or cool the eggs accordingly.
Furthermore, maintaining the correct humidity is crucial to prevent excessive moisture loss through the porous eggshell and membranes. This helps ensure the proper development of the embryos within the eggs. Ideally, humidity levels should be kept between 60 and 80 percent to avoid any detrimental effects on egg viability.
Turning the Eggs
Turning the eggs plays a significant role in promoting even development and preventing the embryos from sticking to the shell membranes. The broody hen instinctively turns the eggs multiple times a day, ensuring that every part of the egg receives sufficient heat and oxygen. This turning action facilitates the proper formation of the embryo and helps prevent deformities.
Testing for Fertility
After about one week of incubation, the eggs can be examined to determine their fertility. To do this, simply hold the eggs up to a bright light source. A dark, visible shape inside the egg indicates that the embryo is developing, indicating fertility. Conversely, if the egg appears completely clear, it signifies that the egg is infertile.
Next, we’ll explore the techniques and considerations involved in artificial incubation, providing an alternative option for hatching chicken eggs.
Artificial Incubation Techniques
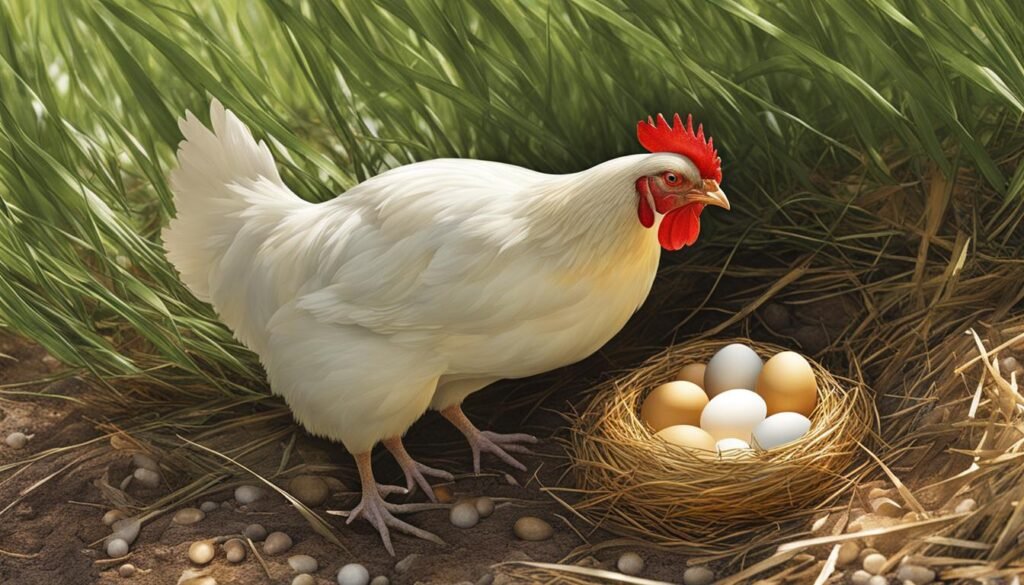
If natural incubation is not an option, artificial incubation can be a viable alternative for hatching chicken eggs. This method involves the use of specialized equipment called incubators, which provide the necessary conditions for egg development. Incubators come in various types and designs to cater to different needs and preferences.
Incubators:
An incubator is a device specifically designed to simulate the conditions necessary for egg incubation. It provides controlled temperature, humidity, and ventilation to ensure optimal development of the embryos. There are several types of incubators available on the market:
- Electricity-based incubators: These are the most common and widely used incubators. They employ heating elements and thermostats to maintain a constant temperature.
- Gas or kerosene-powered incubators: These incubators are suitable for areas with unreliable or limited electricity supply. They use gas or kerosene burners to generate heat.
- Automatic turning incubators: These incubators have built-in mechanisms that automatically turn the eggs at regular intervals, ensuring even heat distribution and preventing embryo adhesion.
- Manual turning incubators: In these incubators, the eggs need to be turned manually multiple times a day to achieve uniform embryo development.
Parched Rice and Rice Husk Techniques:
For those seeking alternative methods of artificial incubation, the parched rice and rice husk techniques can be effective options. Originally developed for hatching duck eggs in China, these techniques have also been successfully applied to chicken egg incubation.
The parched rice technique involves using heated rice to provide warmth for the eggs during the initial two weeks of incubation. A basket filled with warm rice is used as a substrate onto which the eggs are placed. The rice retains heat and helps maintain the required temperature. The basket is then covered to preserve the warmth and humidity.
The rice husk technique follows a similar principle, but instead of parched rice, rice husks are heated and used as a substrate. The warm husks act as a heat source for the eggs, ensuring a consistent temperature for incubation.
| Technique | Hatchability Rate |
|---|---|
| Parched Rice Technique | 65-75% |
| Rice Husk Technique | 65-75% |
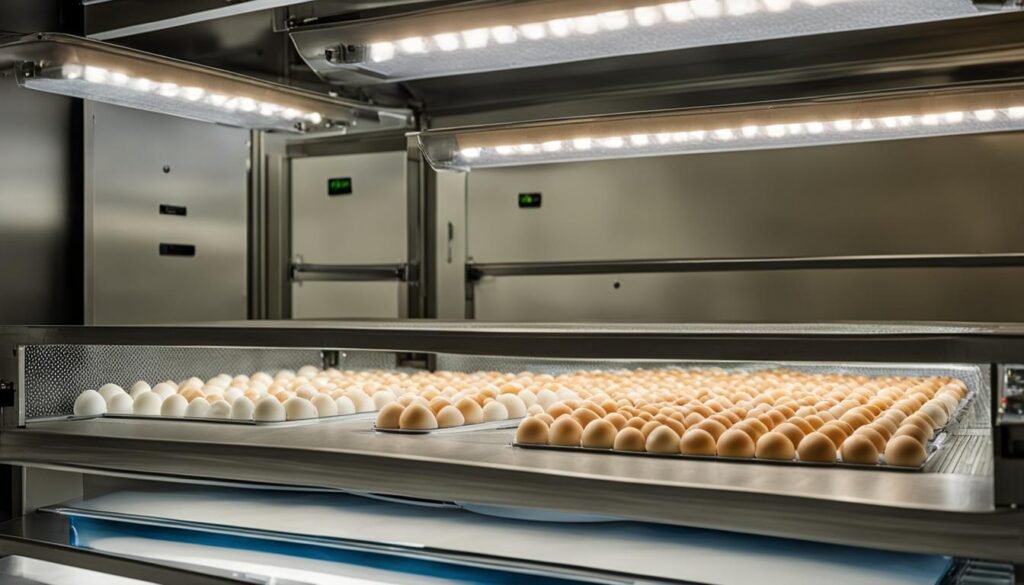
Artificial incubation techniques offer a reliable alternative for hatching chicken eggs when natural incubation is not feasible. Whether utilizing an incubator or implementing the parched rice or rice husk techniques, proper temperature, humidity, and ventilation control are essential for successful egg development. Consider your specific needs and available resources to choose the most suitable method for artificial incubation.
Conclusion
In conclusion, natural incubation of chicken eggs offers several benefits. By utilizing the broody hen’s natural instincts, it reduces the need for artificial equipment and provides a hatchability rate of around 80 percent. However, it is crucial to choose a broody hen with a proven brooding and mothering record. Additionally, providing the necessary conditions such as proper temperature, humidity, and nest size is essential for successful natural incubation.
Alternatively, if natural incubation is not possible or desirable, artificial incubation using incubators is a viable option. There are various types of incubators available, each with its own benefits and features. Techniques like the parched rice and rice husk method, originally developed for hatching duck eggs in China, can also be employed for chicken eggs. These techniques have shown a hatchability rate of 65 to 75 percent, providing an alternative solution for hatching chicken eggs.
Considerations for artificial incubation include maintaining precise temperature control, regularly turning the eggs for even development, and ensuring the correct humidity throughout the incubation process. The choice between natural and artificial incubation methods ultimately depends on the individual’s preferences and circumstances. Both methods have their advantages and it is important to carefully consider which approach best suits your needs and resources.

